

P
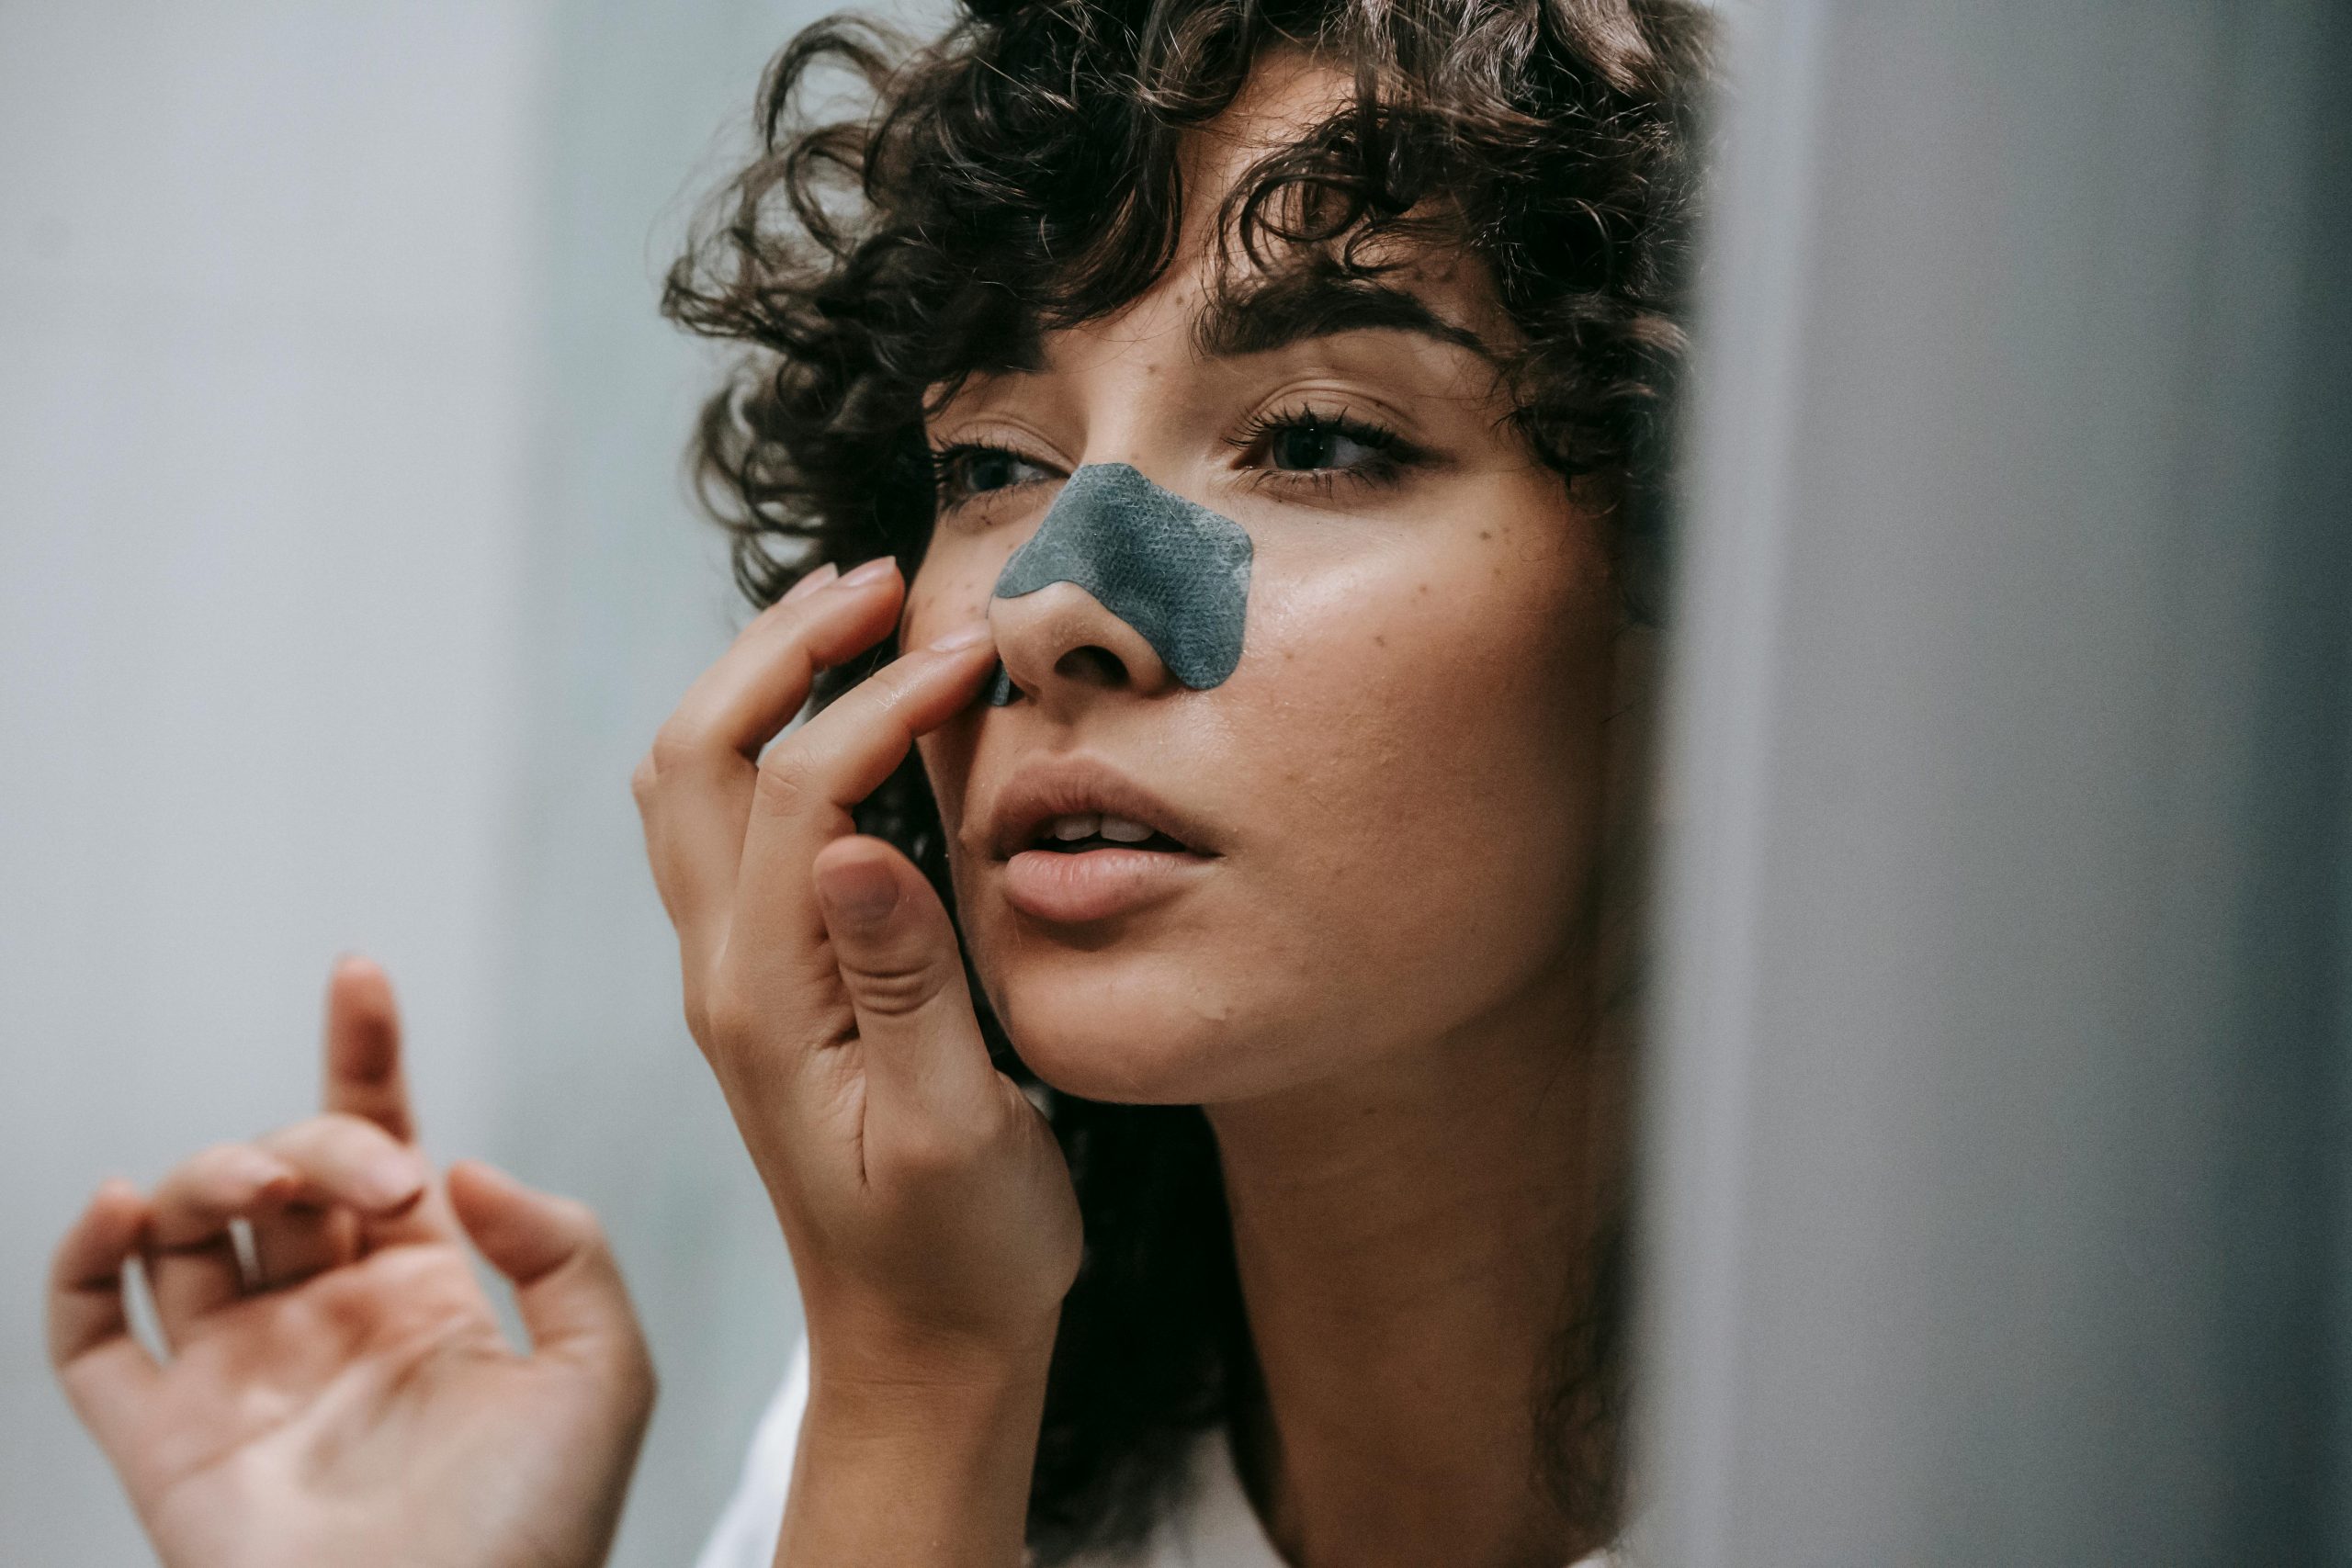
ore strips are adhesive strips created to eject blackheads and other contaminants from the pores on the nose, chin, and forehead. When applied to the skin and left to dry, it adheres to the blackheads and other debris in the pores and, when peeled off, removes the trapped impurities, leaving the skin feeling supple and pure. If you are in the habit of removing blackheads, you may be familiar with pore strips. Although they can be found at stores, it’s a good reason to try out at-home options. Making pore strips at home is thrilling, saves you money, and can be just what you need to put your incessant blackheads under control. A total win-win situation.
What are the benefits of pore strips?
Pore strips boast several benefits, including:
- Blackhead ejection: This is the number one reason why pore strips are purchased. Pore strips efficiently remove blackheads from the pores, thus enhancing the appearance of the skin.
- Convenient use: Whether you’re making pore strips at home or purchasing them off the shelf, it remains a quick skincare solution. It removes the stress of extensive skincare routines or professional treatments.
- Non-invasive: Compared to other blackhead removal techniques like extraction tools or chemical peels, pore strips are non-invasive and generally easy on the skin when used correctly.
- Affordable: They are generally inexpensive and available at drugstores and beauty stores.
- Improved skin texture: Regular use of pore strips may enhance skin texture and remove debris and dead skin cells from the pores.
- Increases the effect of skincare products: By removing impurities from the pores, pore strips can help skincare products like serums and moisturizers penetrate more effectively into the skin, maximizing their benefits.
NOTE: Despite all these benefits, it’s important to use pore strips cautiously and not rely on them as the sole method of caring for your skin. Overuse or improper application of pore strips can potentially lead to irritation, dryness, or damage to the skin. It’s important to have a gentle skincare routine, that includes cleansing and moisturizing to keep your skin healthy and prevent blackheads from forming in the future.
A basic recipe to make pore strips at home
Ingredients:
- 1 tablespoon unflavored gelatin
- 1-2 tablespoons milk
Instructions:
- Mix the gelatin and milk in a microwave-safe bowl.
- Microwave the mixture for about 10–15 seconds until it becomes a thick paste.
- Allow it to cool down a bit to make it comfortable to touch, but still pliable.
- Apply the mixture to your nose or other areas with blackheads, making sure to avoid the delicate skin around your eyes.
- Let it dry for about 15–20 minutes until it feels firm.
- Gently peel off the strip in an upward motion.
- Remember to patch test on a small area of your skin before applying it all over your face, especially if you have sensitive skin.
Featured image: carles miro/iStock
For the latest in fashion, lifestyle, and culture, follow us on Instagram @StyleRave_
All rights reserved. This material, and other digital content on this website, may not be reproduced, published, broadcasted, cached, rewritten, or redistributed in whole or in part without prior express written permission from STYLE RAVE. Use of and/or registration on any portion of this site constitutes acceptance of our Terms & Conditions and Privacy Policy.
—Read also


