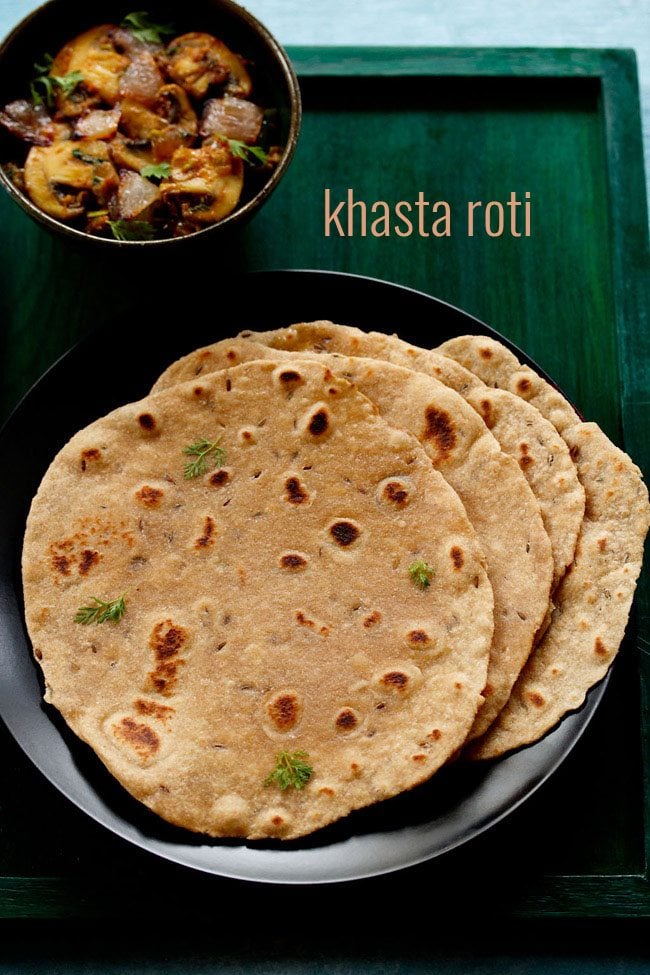
If you are a true-blue fan of all things crispy in food, this Indian flatbread is definitely for you! Khasta Roti is a leavened crisp and flaky bread made from whole wheat flour (atta), ghee and cumin seeds. It can be a nice change from your regular chapattis, rotis or even phulkas, when paired with dals, curries and sabzis. The methodology is more or less similar to that of rolling out a chapatti, it’s the composition of the dough which makes it ‘khasta’ or flaky, crispy as compared to the softness of a usual chapatti. Absolutely worth a try!

What is Khasta Roti
‘Khasta’ is the Hindi word for ‘flaky or crispy’ and ‘roti’ is a type of Indian flatbread that is primarily made of whole wheat flour. While we usually associate the roti, also known as phulka or chapatti according to regional variations, with a bread that is soft and consumed fresh, piping hot and sometimes puffed.
Khasta Roti on the other hand, is typically a North Indian variation which is crispy and flaky, and not just soft. The ingredients that go into making of it are same as that of a basic roti or chapatti, with minor changes. Like the quantity of ghee and the touch of cumin seeds in it is what gives it an edge over its counterparts.
Sometimes, the special dough of the Khasta Roti may also be drenched in milk and it usually also has baking powder. The ghee and the baking powder thus add to the crispiness and flakiness of this unique flatbread.
Apart from this, the process of preparing the Khasta Roti is exactly how you would prepare your everyday chapattis or rotis. Just divide the dough into balls, roll out into regular sized discs and roast with some ghee on a hot tawa.
Khasta Roti is one of the flatbreads from Indian cuisine which is not very popular unlike the Tandoori Roti, Roomali Roti and Naan. As obvious from the name, the texture of the unique Khasta Roti is crisp and flaky, but not like papads or kachoris. The crispness in these rotis is accompanied by a certain softness too.
I have been making Khasta Roti for years now. I came to know that such a roti existed during my home science years in college. And my home science notes is where the recipe of this roti also comes from. The original recipe uses milk and eggs. However, I created a version without both of these ingredients.
Occasionally, when I make a rich North Indian paneer, veggie or mushroom curry, then I also end up making the Khasta Roti to go with them. However, it is not a frequent thing at home as we consume the regular rotis or chapattis only on an everyday basis.
Like I said, Khasta Roti pairs brilliantly with any North Indian gravy like paneer butter masala, palak paneer, chana masala, rajma masala, etc. It also goes great with lentil-based dishes like dal makhani, dal tadka or dal fry.
Step-by-Step Guide
How to make Khasta Roti
Making dough
1. In a bowl, take 2 cups whole wheat flour (atta), 1 teaspoon slightly crushed cumin seeds, ½ teaspoon baking powder and ½ teaspoon salt.
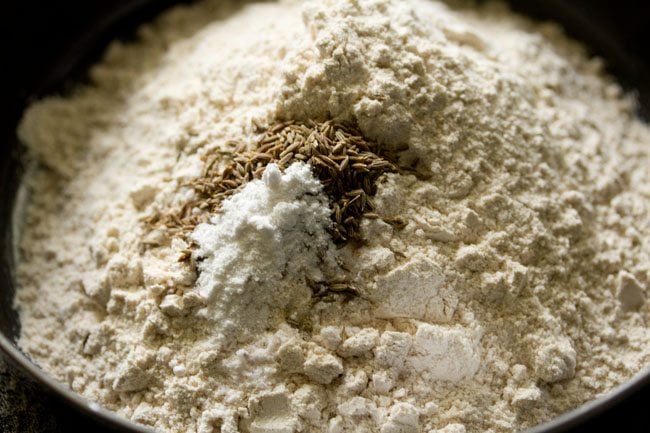

2. Mix very well with a spoon or with your hands.
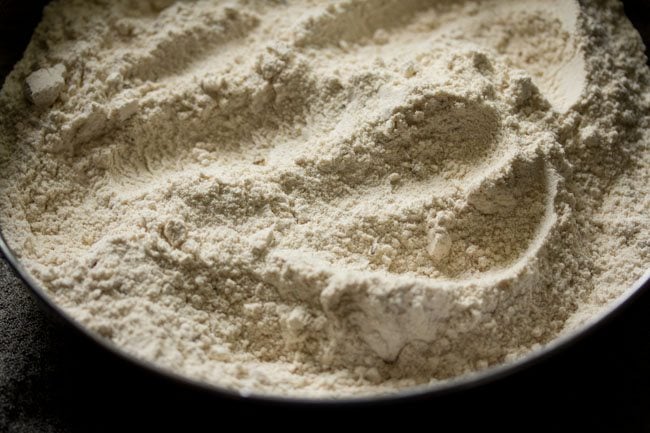

3. Now, add 3 tablespoons ghee.
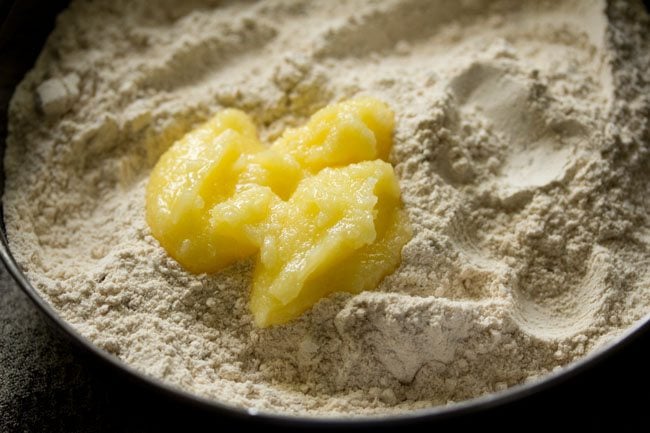

4. Rub the ghee in the flour till you get a breadcrumb like texture in the flour.
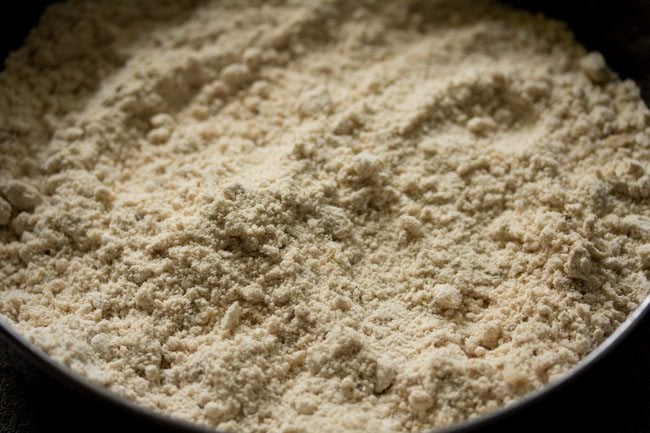

5. When you press a portion of the flour mixture, it should hold itself and not break or fall down.
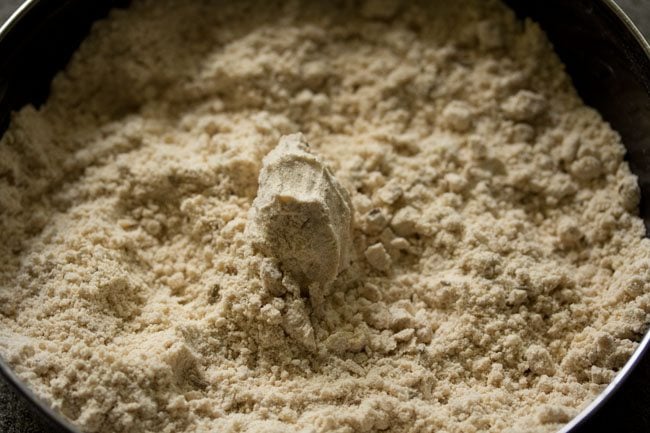

6. Now, add water in parts and knead. First, add ¼ cup water.
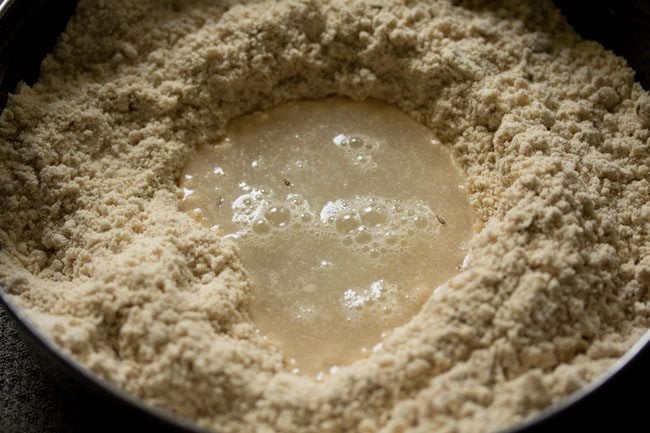

7. Begin to knead.
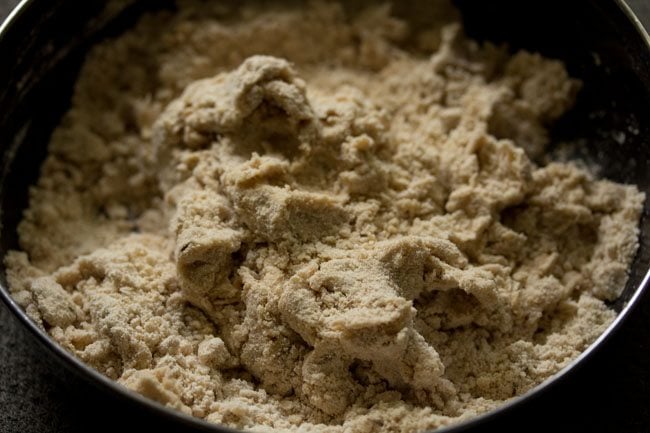

8. Add more water as required and knead to a semi soft dough. Not tight/firm or soft. I used an overall of ½ cup water for kneading. Add water as required while kneading. Cover and allow the dough to rest for 15 or 20 minutes.
Note: If you end up making a soft dough, the crisp and flaky texture won’t be there.
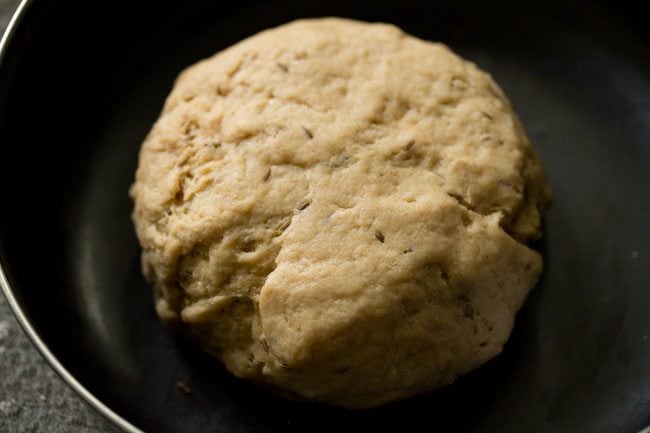

Rolling Khasta Roti
9. Divide the dough in equal medium sized balls. Cover and keep, till you roll and roast Khasta Roti.
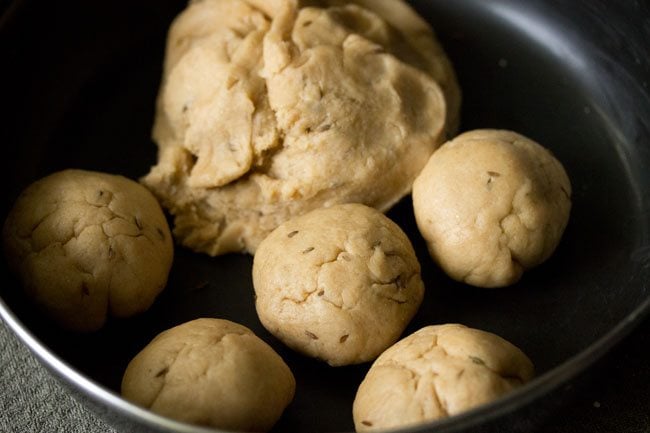

10. Place the dough on rolling board. No need to sprinkle any flour while rolling.
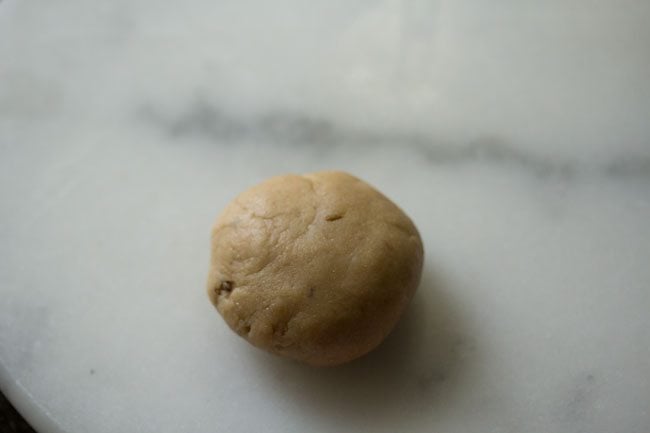

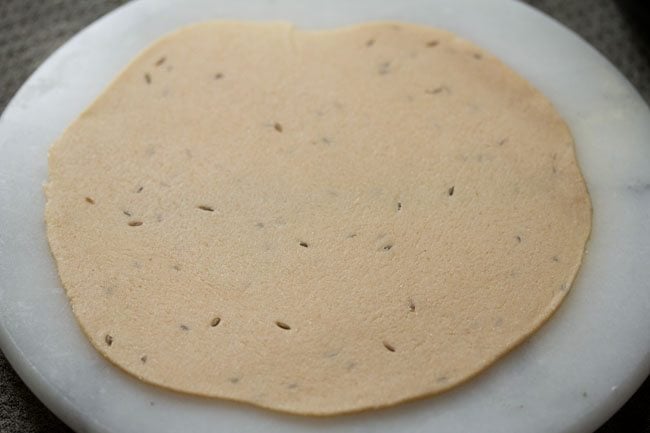
11. Roll to a regular chapatti size, about 8 to 9 inches in diameter.

Cooking Khasta Roti
12. Heat a tawa and keep the flame to high. After the tawa is hot, place the Khasta Roti on it.
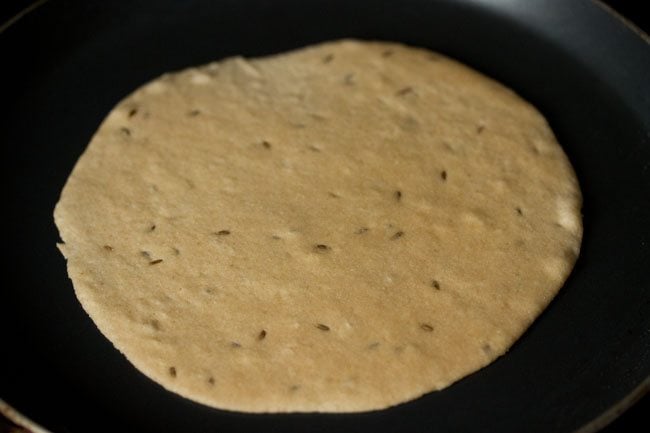

13. When you see bubbles appearing, flip it.
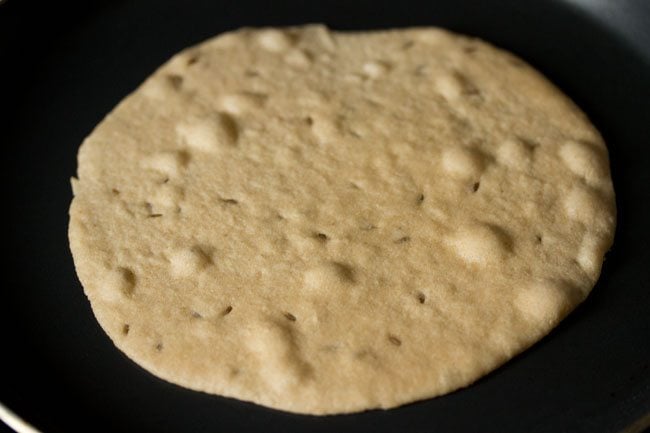

14. This first side of the roti has to be cooked ¼th.
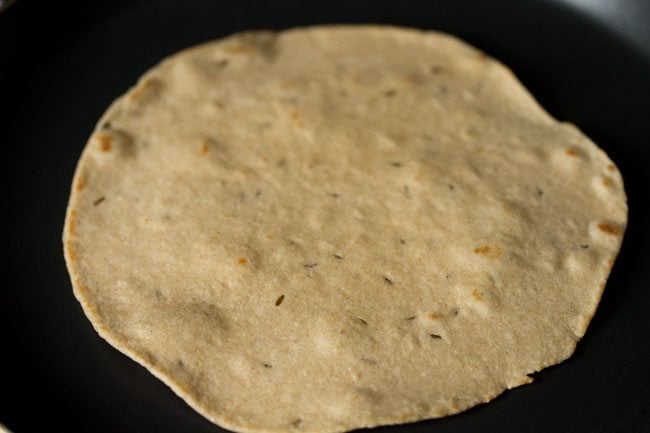

15. When the second side is half cooked and you see golden spots, flip again.
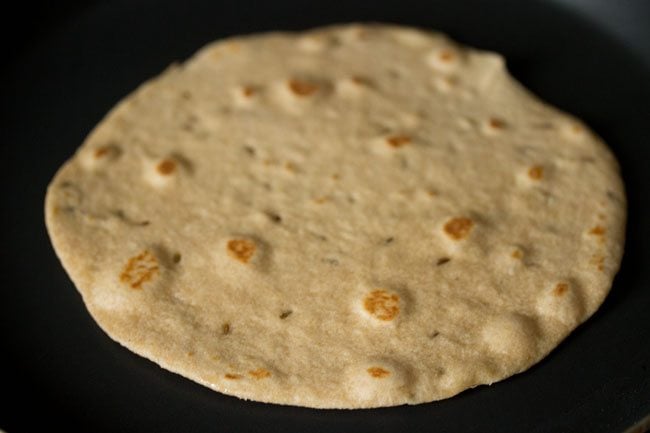

16. Press the edges of the roti with the spatula, so that it gets roasted well and becomes crisp.
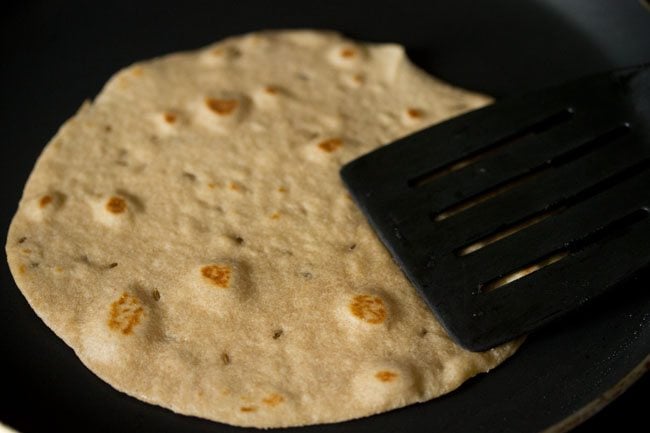

17. Flip again and press the edges with a spatula.
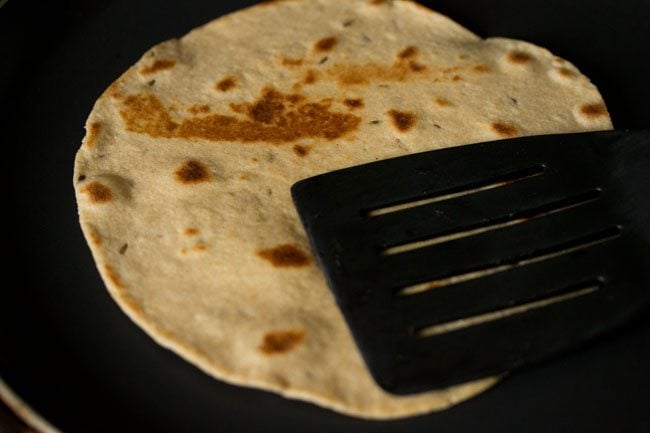

18. Roast till you see golden or lightly charred spots on the roti.
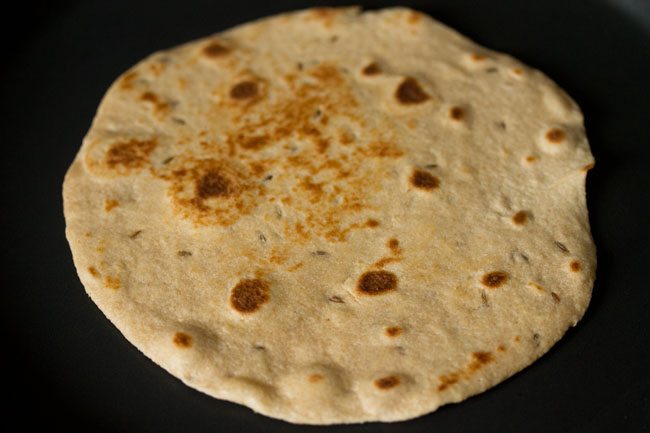

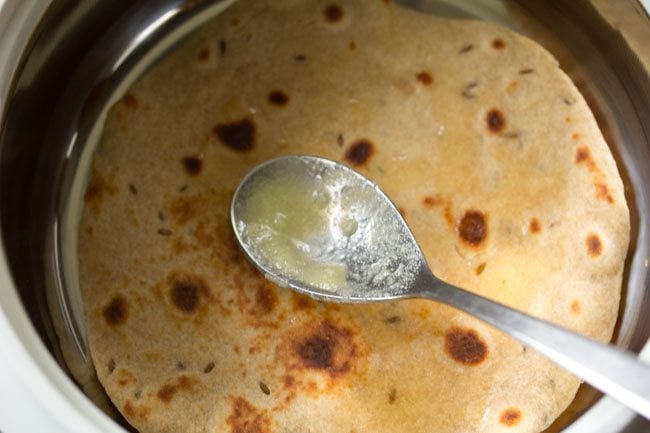
19. Place the roti in a roti basket, casserole or plate. Spread some ghee on top. You can serve the rotis hot or stack them up and serve later.

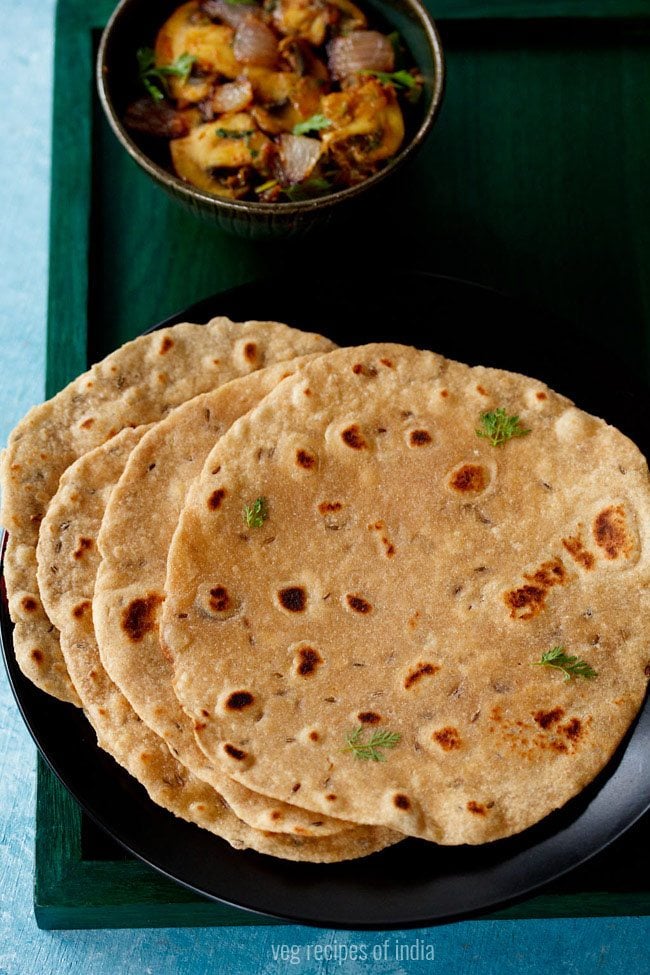
20. Serve Khasta Roti with any North Indian curry like kadai paneer, paneer lababdar, paneer makhani or vegetable curry dish. It also goes very well with rajma, dal makhani, dal fry and dal tadka.

Expert Tips
- If you have a stand mixer at home, you can even use it to knead the dough for this roti.
- After mixing the ghee in the flour-cumin seeds mixture to get a breadcrumb like texture in it, you should also check that the mixture is holding itself and not breaking or falling down. For this, just press a portion of the flour mixture and see.
- The dough for this Khasta Roti has to be semi soft, not firm or just soft. If you have an extremely soft dough, there will be no crispiness and flakiness in the rotis. So, add water accordingly.
- You can easily scale the recipe proportionally.
More Similar Recipes To Try!
Indian Breads
Vegan Recipes
Indian Breads
Indian Breads
Please be sure to rate the recipe in the recipe card or leave a comment below if you have made it. For more vegetarian inspirations, Sign Up for my emails or follow me on Instagram, Youtube, Facebook, Pinterest or Twitter.

Khasta Roti
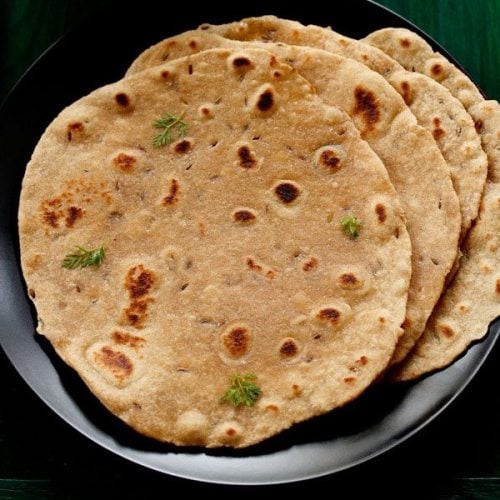
Khasta roti is leavened crisp and flaky flat breads made from whole wheat flour, cumin and ghee.
Prep Time 25 minutes
Cook Time 20 minutes
Total Time 45 minutes
Prevent your screen from going dark while making the recipe
making dough for khasta roti
In a bowl take 2 cups whole wheat flour/atta, 1 teaspoon slightly crushed cumin seeds, 1/2 teaspoon baking powder and 1/2 teaspoon salt.
Mix very well with a spoon or with your hands.
Now add 3 tablespoons ghee.
Rub the ghee in the flour till you get a breadcrumb like texture in the flour.
When you press a portion of the flour mixture, it should hold itself and not break or fall down.
Now add water in parts and knead. First add 1/4 cup water. Begin to knead.
Add more water as required and knead to a semi soft dough. Not tight/firm and not soft. I overall used 1/2 cup water for kneading.
Add water as required while kneading. Do note that if you end up making a soft dough, the crisp and flaky texture won’t be there. Cover and allow the dough to rest for 15 or 20 minutes.
Then divide the dough in equal medium sized balls. Cover and keep, when rolling and roasting rotis.
making khasta roti
Place the dough on rolling board.
Roll to a regular chapati size, about 8 to 9 inches in diameter.
Heat a tawa and keep the flame to a high. Let the tawa become hot. Then place the roti on it.
When you see bubbles appearing then flip it.
The roti has to be 1/4 cooked.
When the second side is half cooked and you see golden spots, flip again.
Press the edges with the spatula so that they get roasted well and become crisp.
Flip again and press the edges of khasta roti with a spatula.
Roast till you see golden or lightly charred spots on the khasta roti.
Place them in a roti basket or casserole or a plate. Spread some ghee on top.
You can serve the rotis hot or stack them up and then serve later, once you are done making all the rotis.
Serve khasta roti with any north indian paneer, mushroom or veggie gravy/curry dish. It also goes very well with rajma masala, dal makhani and dal tadka.
- This recipe can be doubled or tripled.
- You can use a stand mixer for mixing and kneading dough.
This Khasta Roti Recipe from the archives was first published in April 2016. It has been updated and republished in March 2024.
[ad_2]


